Beginner tutorial
This is the webpage that will guide you into solving your first very own Rubik's cube!
If you get confused at any step, dont hesitate to review the step/s again. Lastly, make
sure to have fun! :D
This tutorial will assume you're familiar with Rubik's cube notation. If you need a guide on that, or just need a quick refresher, you can check out our notation
page here.
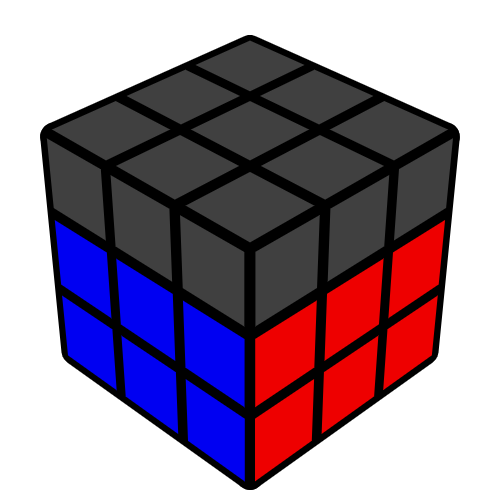
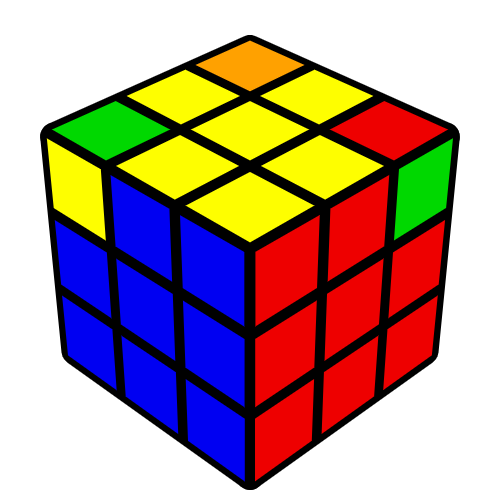
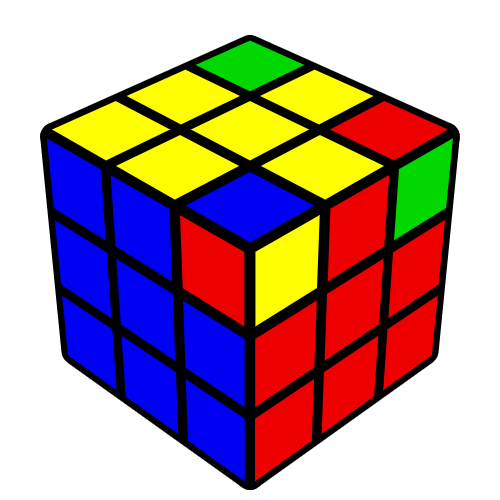
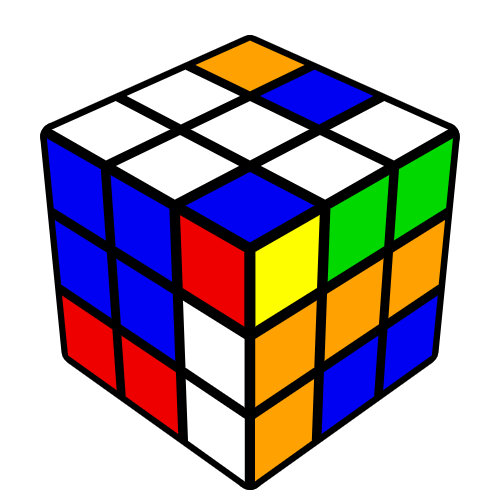
For this tutorial, we will be solving this rubik's cube layer-by-layer. This is to get to know the terminology in cubing, and get the hang of speedy rotations that will be important later on.
For this tutorial, we will be solving this rubik's cube layer-by-layer. This is to get to know the terminology in cubing, and get the hang of speedy rotations that will be important later on.
Cross

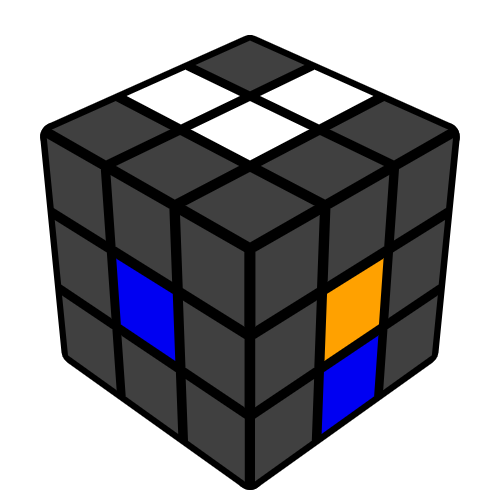
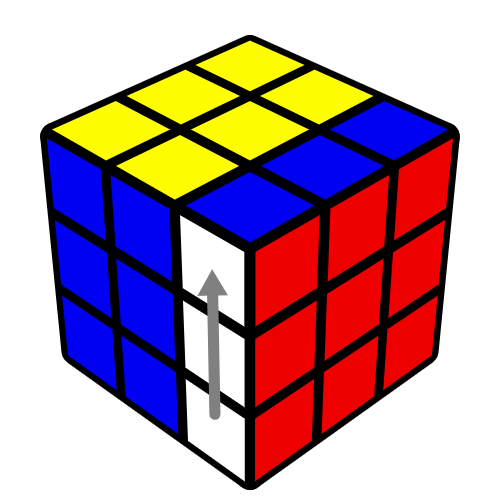
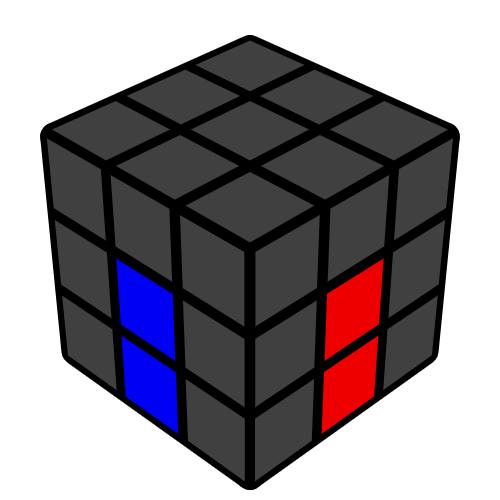
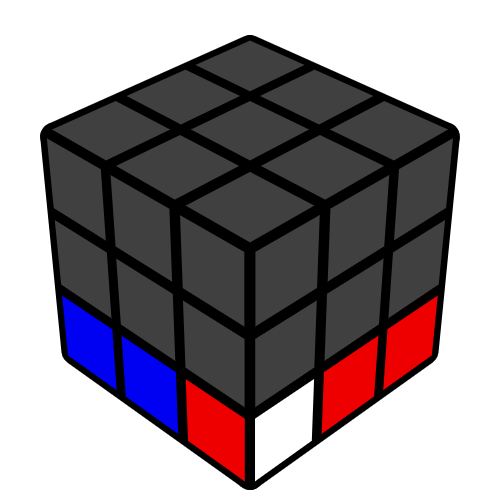
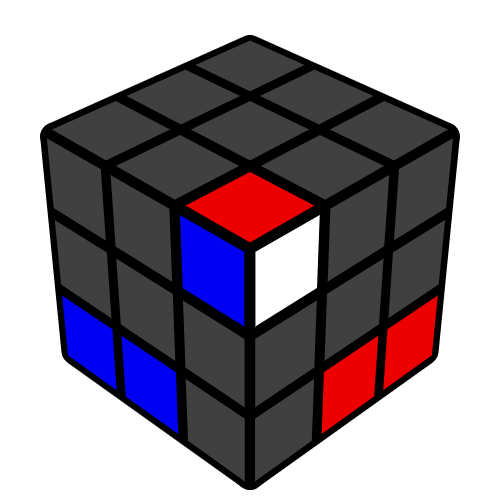
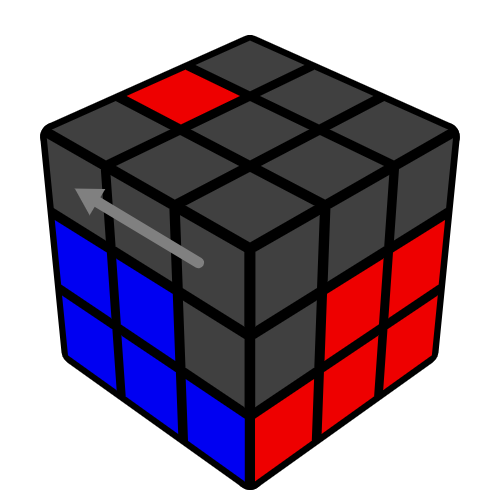
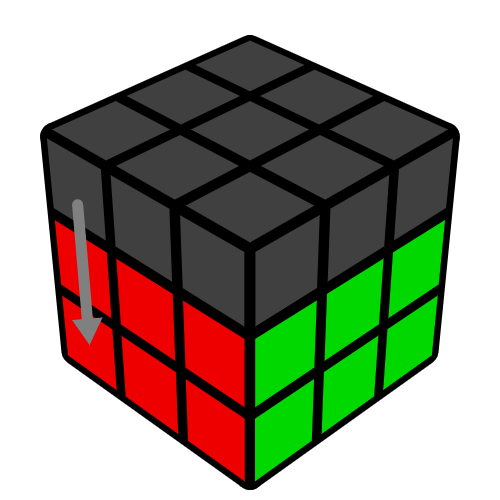
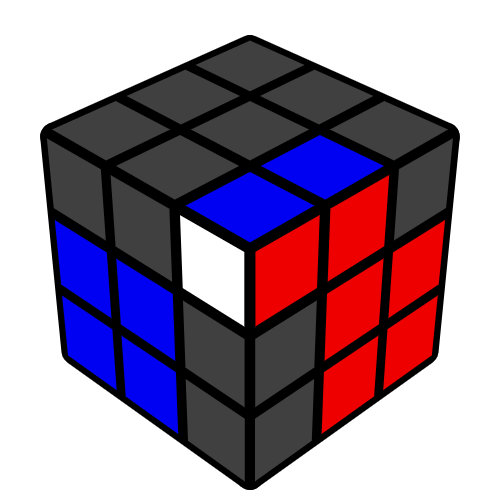
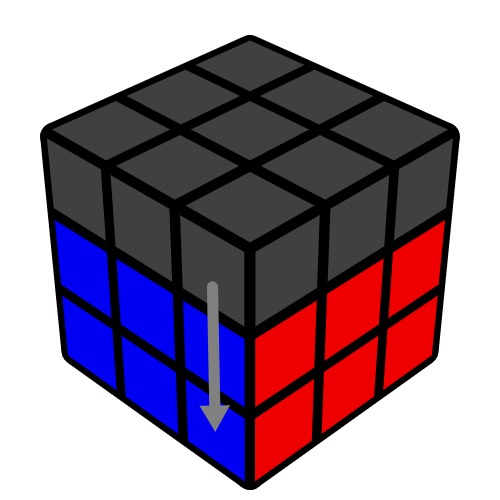
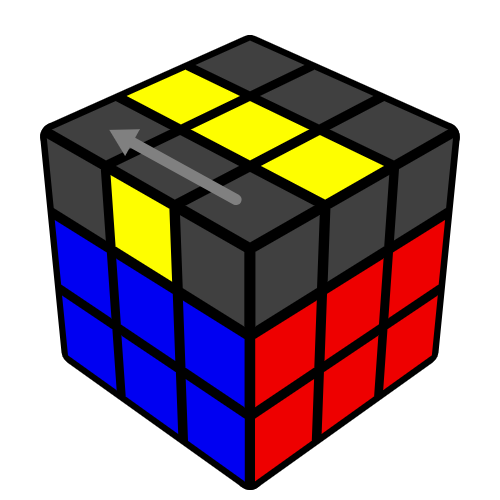
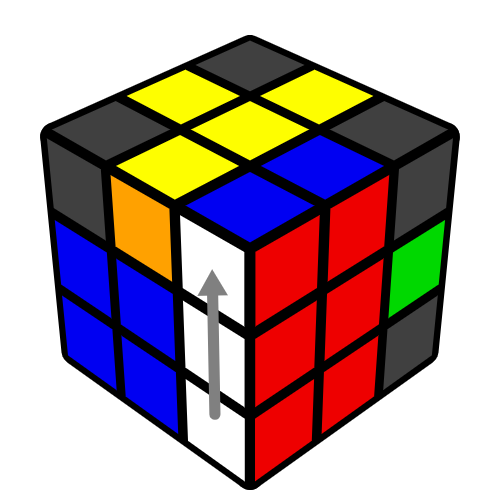
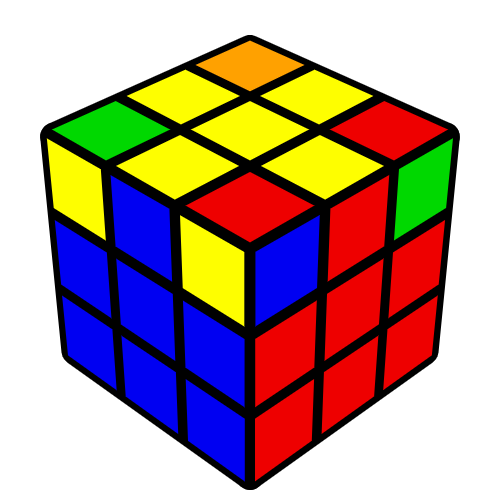
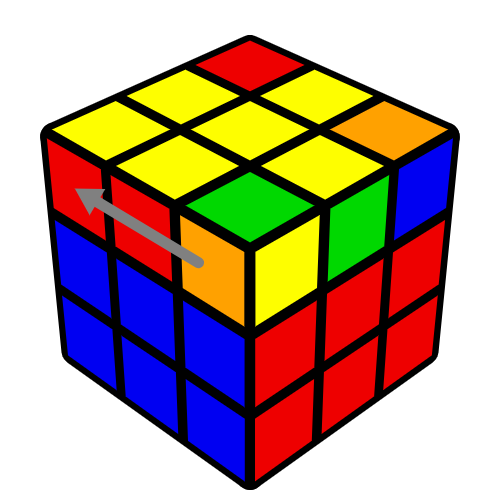
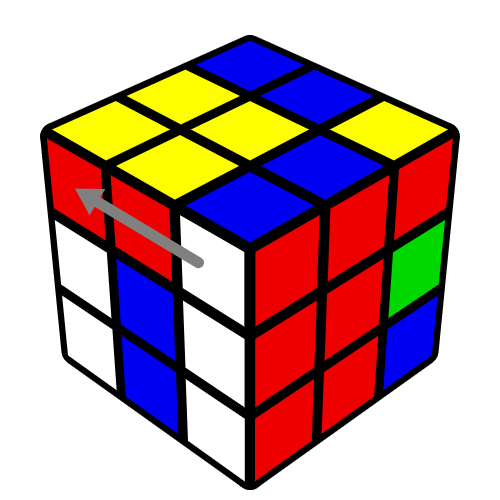
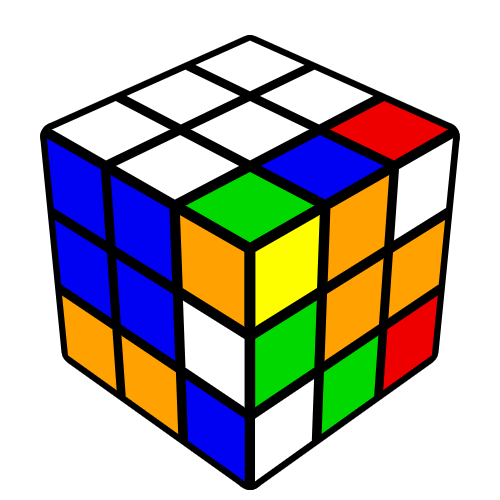
Our goal for this step is to create what's called the white cross (hence its name). First, pick a layer for you to solve, ideally the one with the most white edges in place. An example of a white edge solved is the one in the picture next to the title. The white edge is facing the top, and the other color of the edge piece is aligned with the color of the center square.
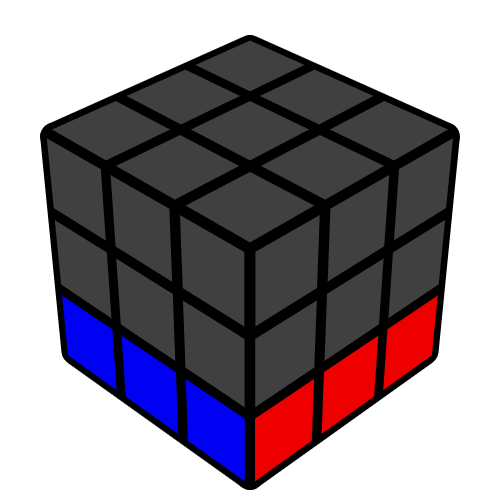
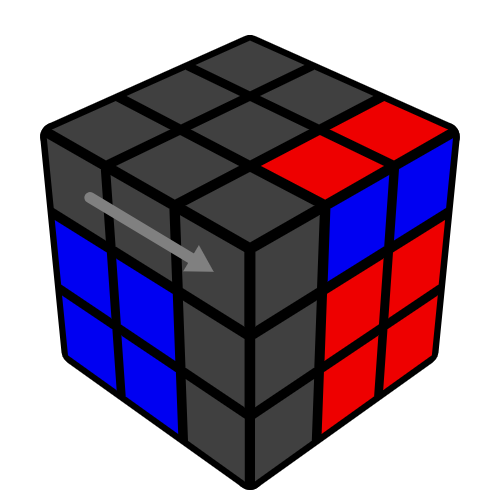
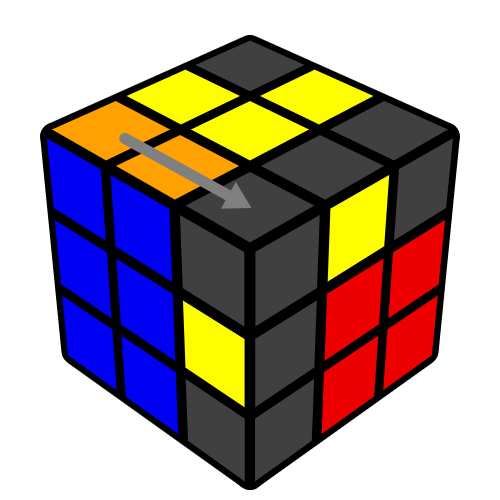
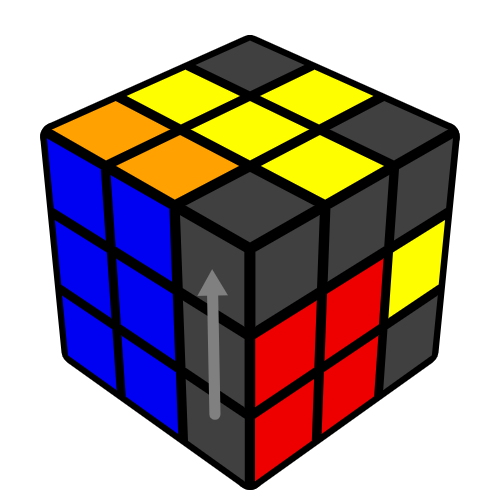
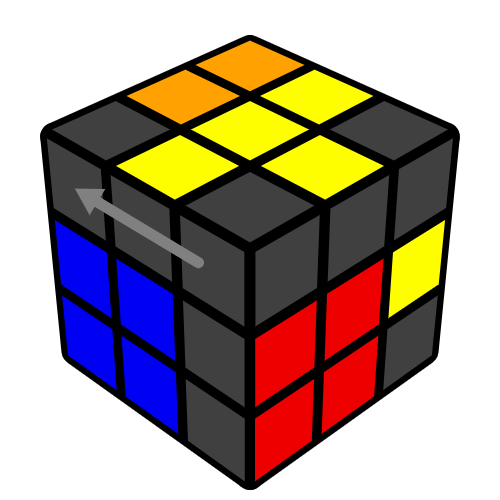
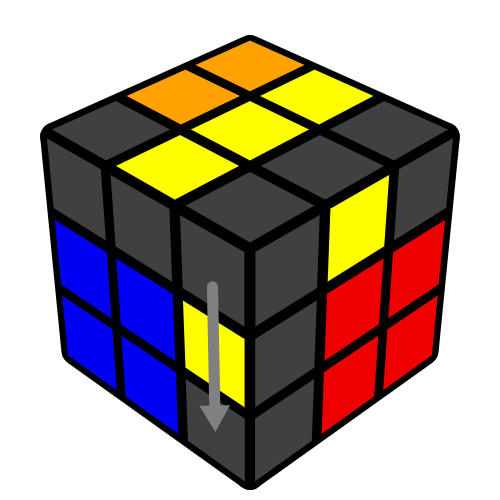
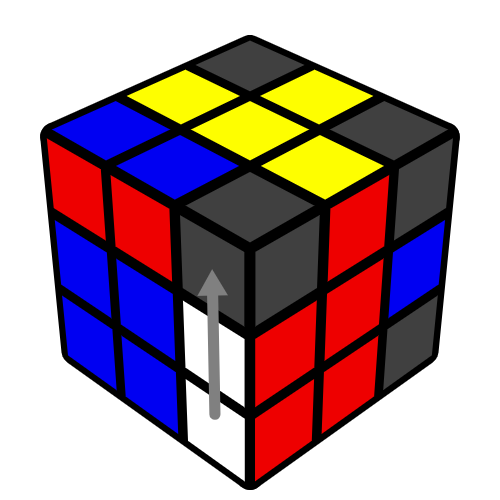
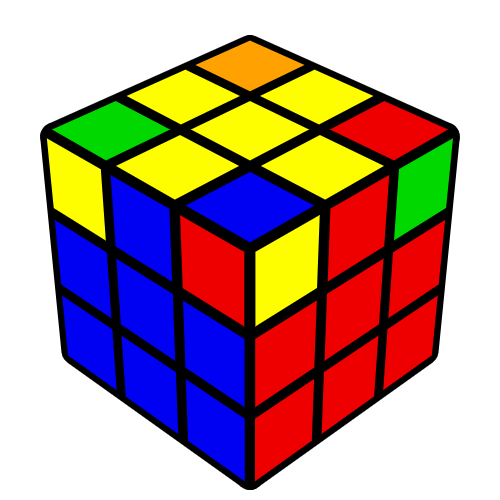
To insert an edge turn the cross face so the edge you are trying to fix is below the its place on the cross face. Then turn the face the edge is in until its on the cross. Here is a quick cross example solve:
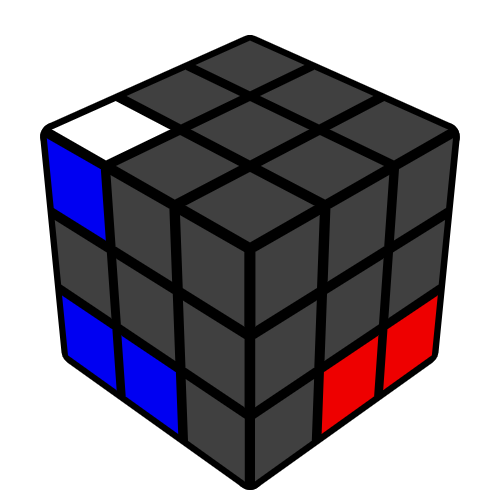
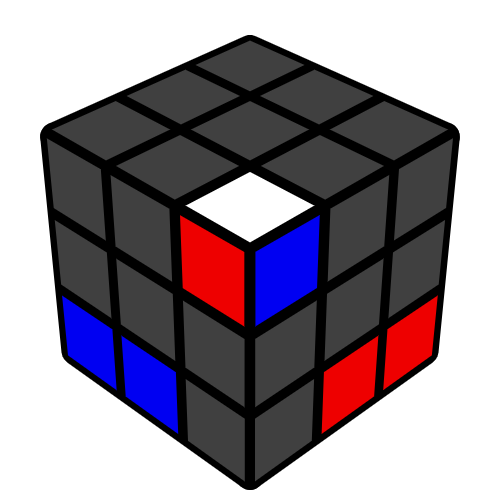
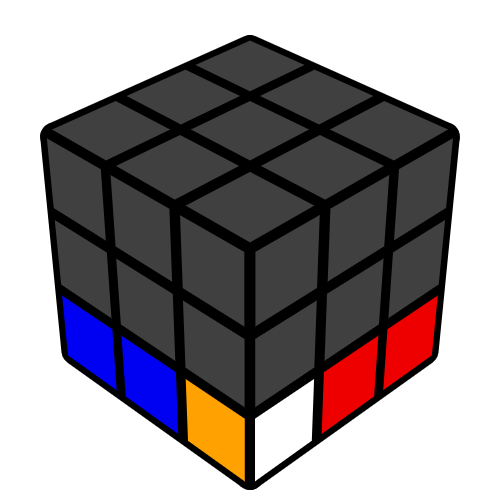
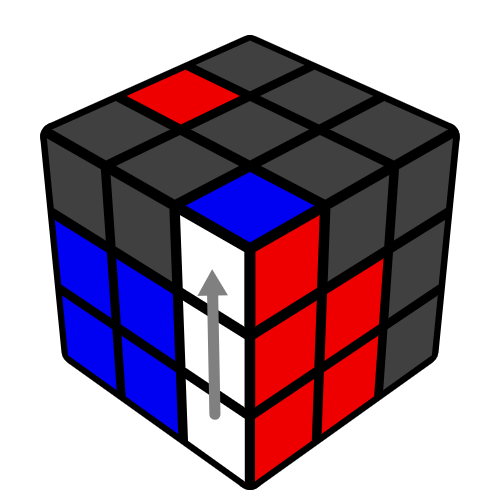
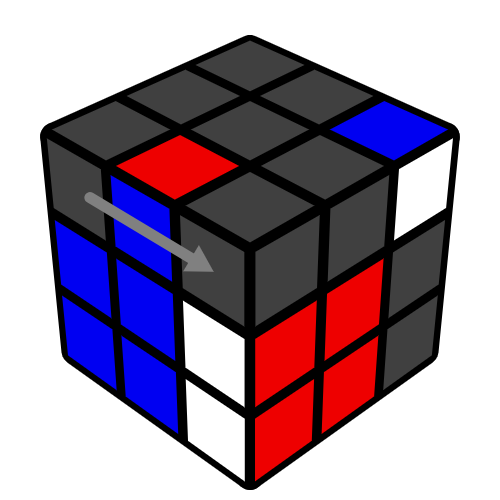
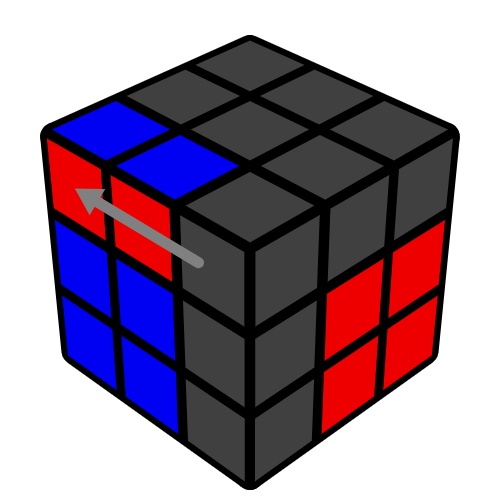
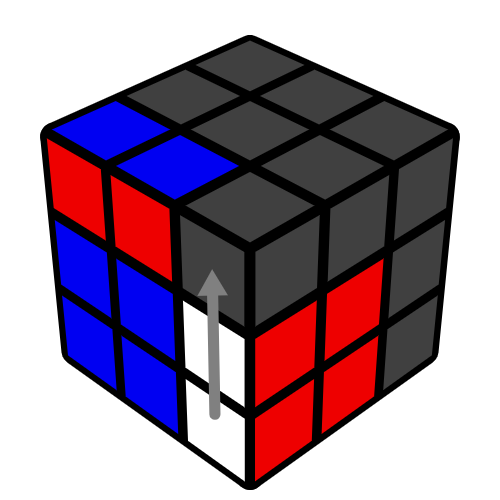
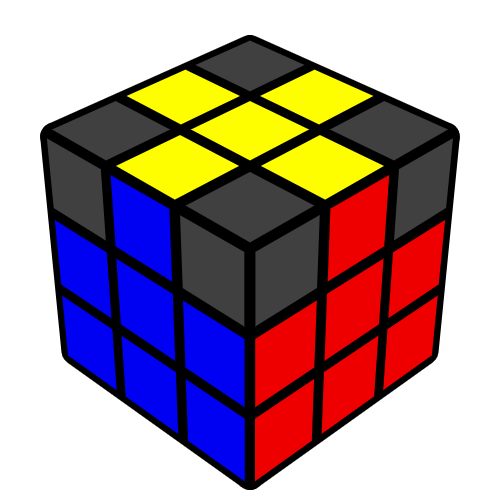
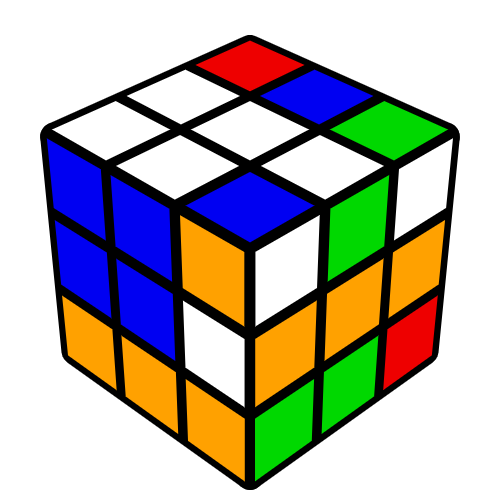
and here is a picture example of solving an edge:
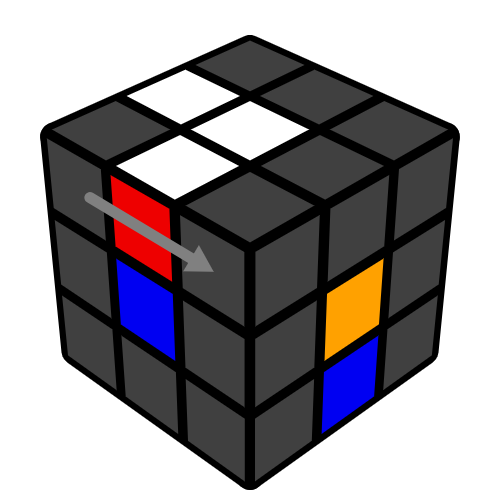
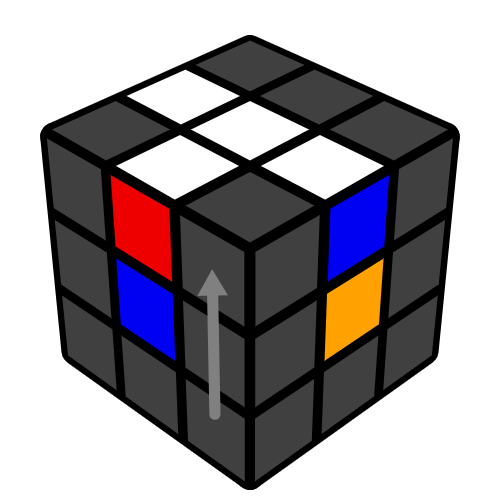
and here is a picture example of solving an edge:
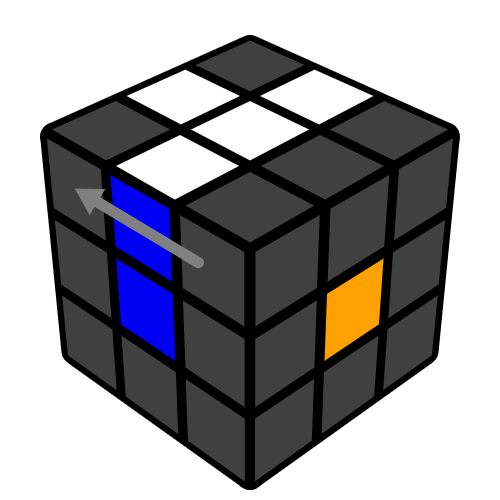
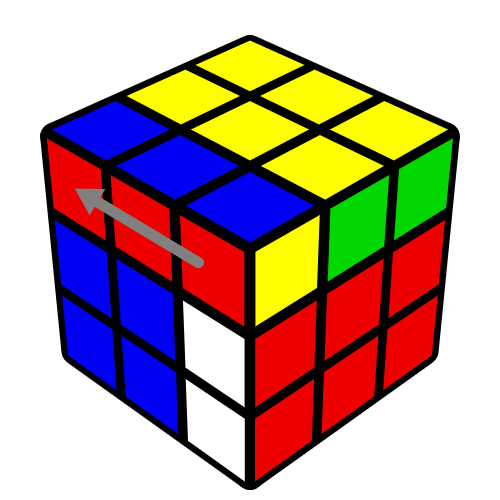
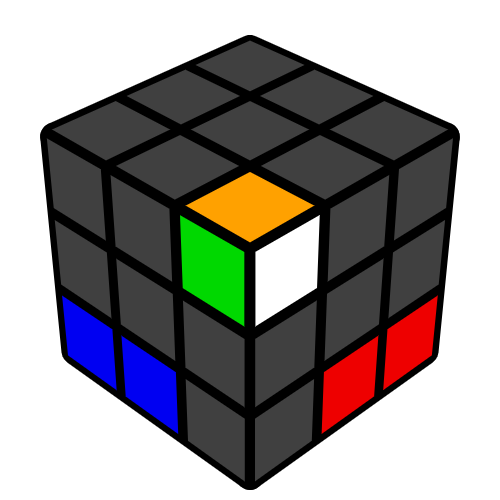
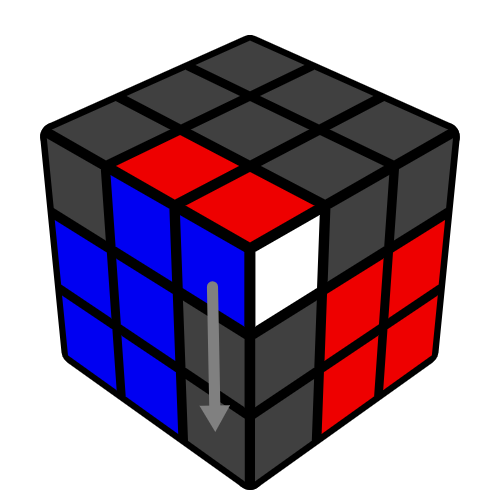
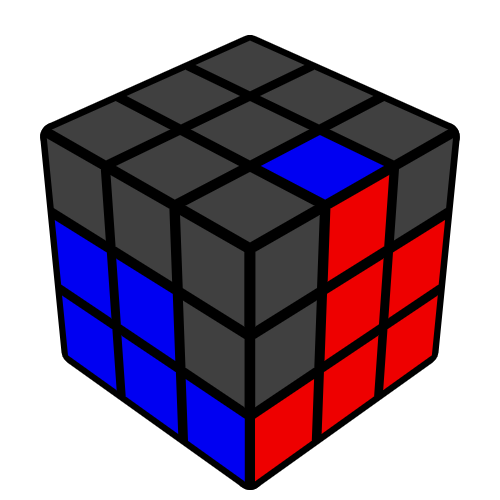
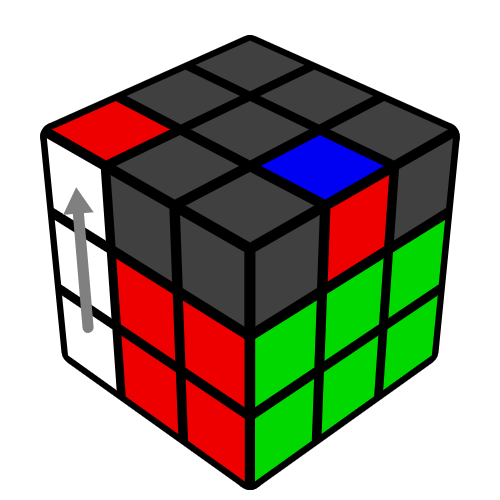
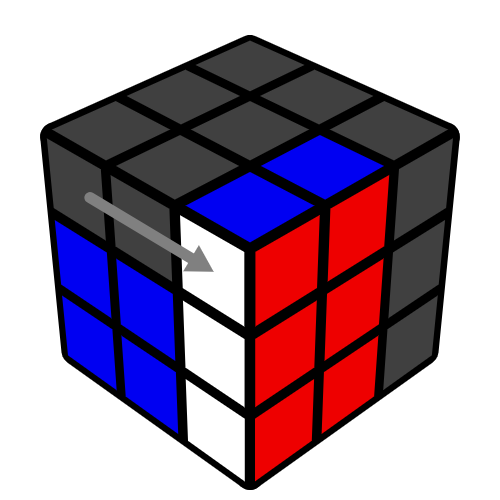
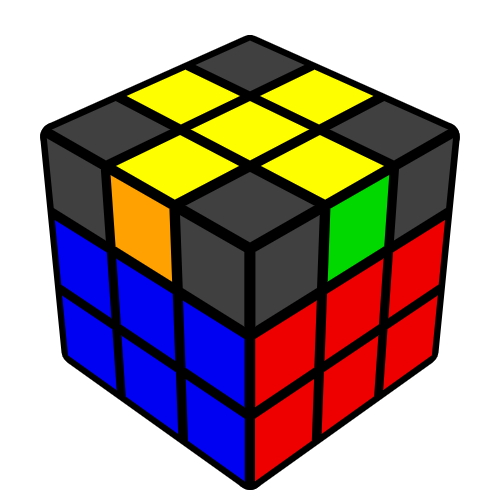
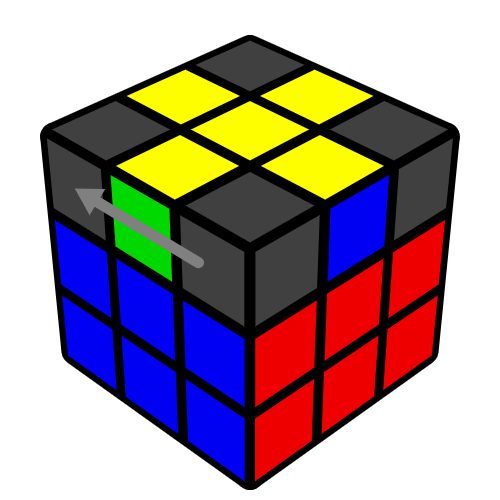
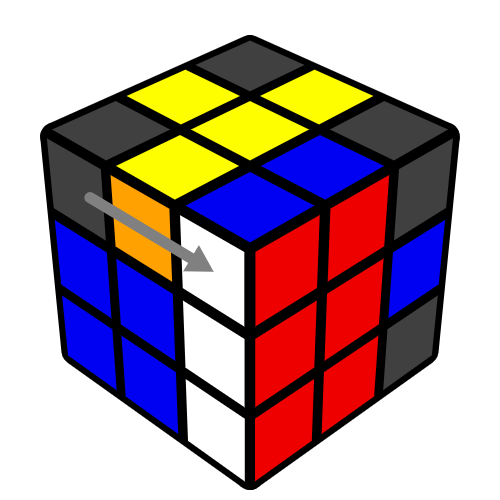
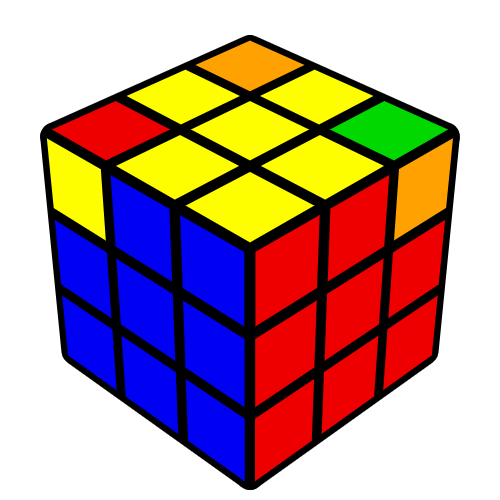
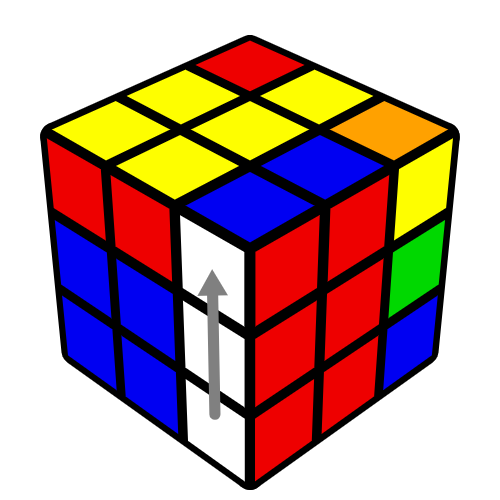
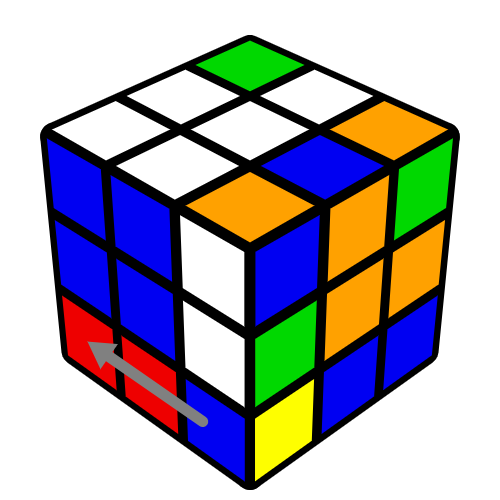
Sometimes when you insert an edge it would be flipped (as shown in the leftmost picture below). To fix this you just need to do these 4 moves.

F
U'
R
U

First Layer
Before we go on to the next step, we should first learn one of the most used and one the fastest triggers (RUR'U') also called the "sexy move".
(editor's note: it really is called the sexy move. I'm dying.)
R
U'
R'
U'
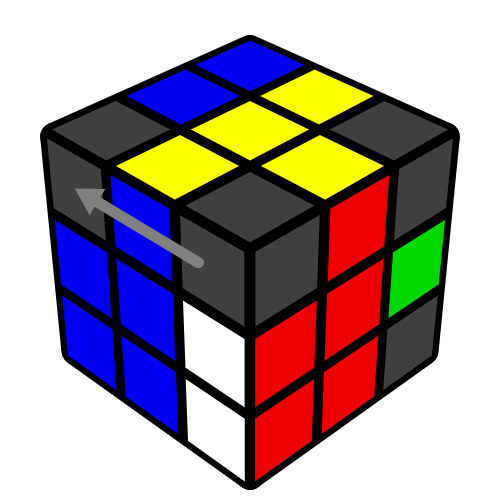
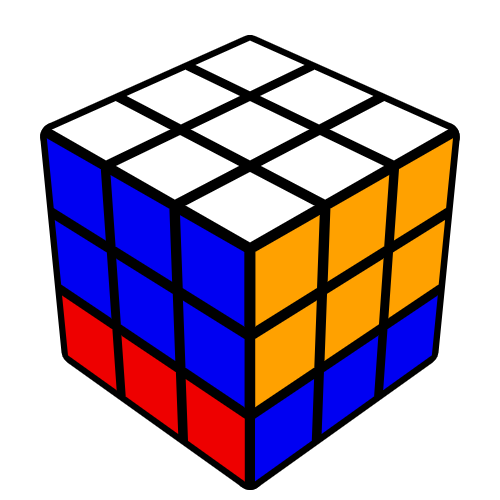
Once you've done the white cross, you only need to solve the corners so that everything in the first layer is in place.
There will be times in this tutorial where in the middle of the step,it looks like you're scrambling the progress you already made. Just trust the process and carry out the instructions to the T, and everything will be fine.
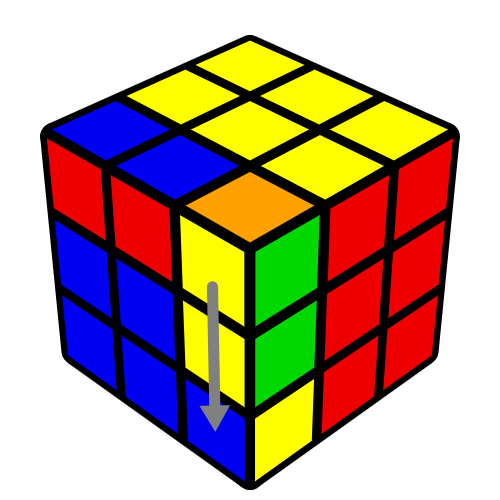
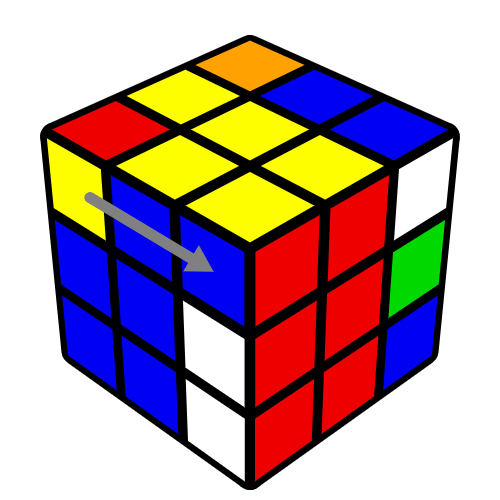
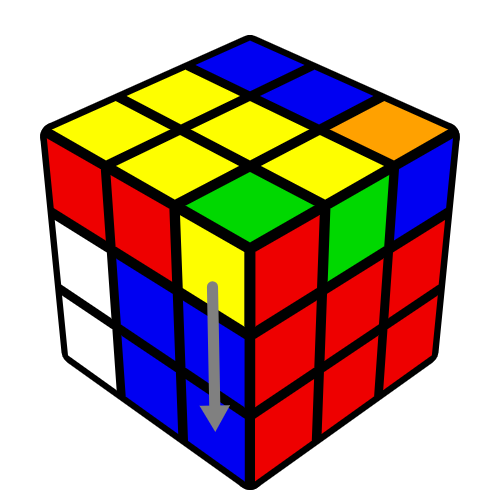
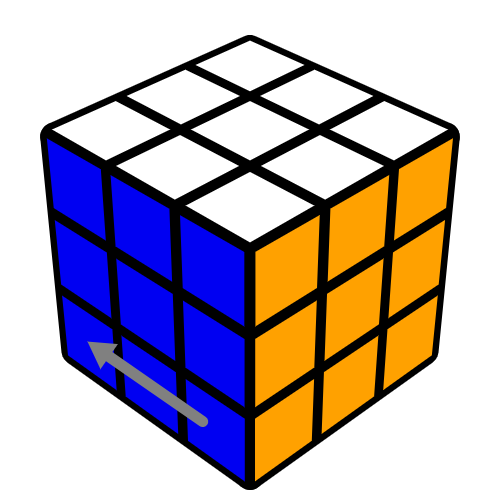
To solve the remaining corners, first turn the cross upside down so its facing the bottom.

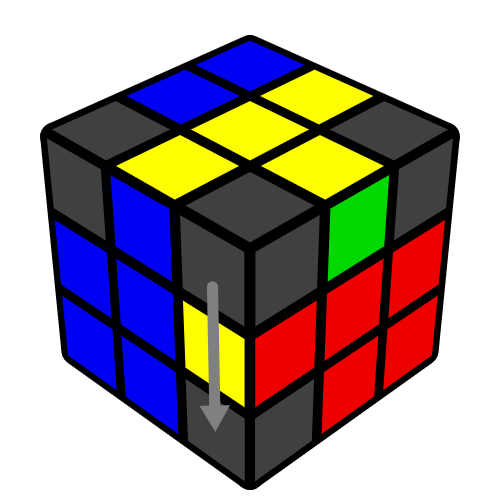
 Then find a corner piece on the top that belongs to the bottom layer and turn the top face so the piece is over where its supppsed to go.
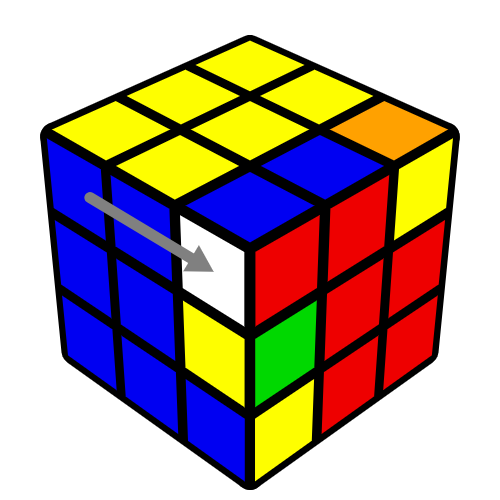
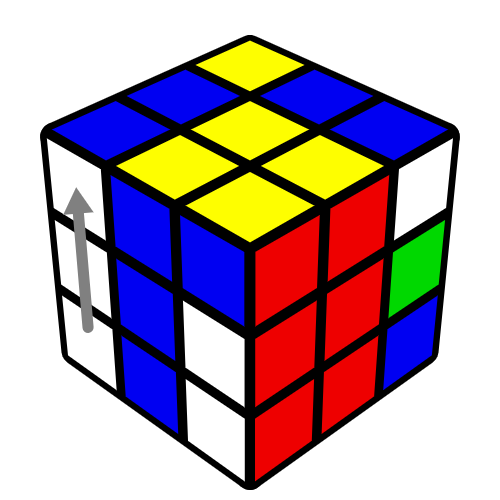
 Make sure the corner piece and the location its going to go is on the right of your cube. Now do the sexy moves until the corner piece is on the bottom layer and
turned correctly.
Make sure the corner piece and the location its going to go is on the right of your cube. Now do the sexy moves until the corner piece is on the bottom layer and
turned correctly.
There will be times in this tutorial where in the middle of the step,it looks like you're scrambling the progress you already made. Just trust the process and carry out the instructions to the T, and everything will be fine.
To solve the remaining corners, first turn the cross upside down so its facing the bottom.
(RUR'U')
(RUR'U') x 2
(RUR'U') x 3
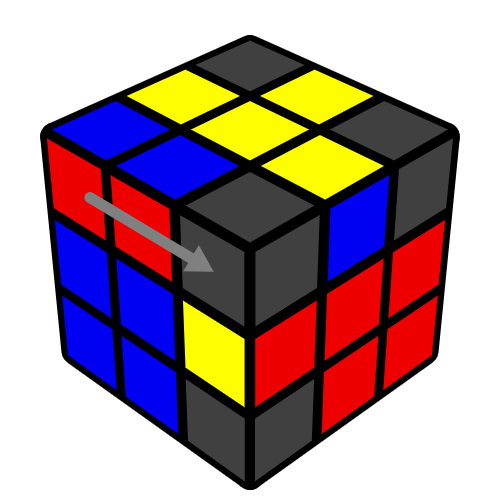
Sometimes there are no corner piece on the top layer and they are stuck on the bottom layer. To remove it rotate the cube so the stuck piece is on the right then do the sexy move algorithm once. After just insert the corner piece like usual.
(RUR'U')
Second Layer
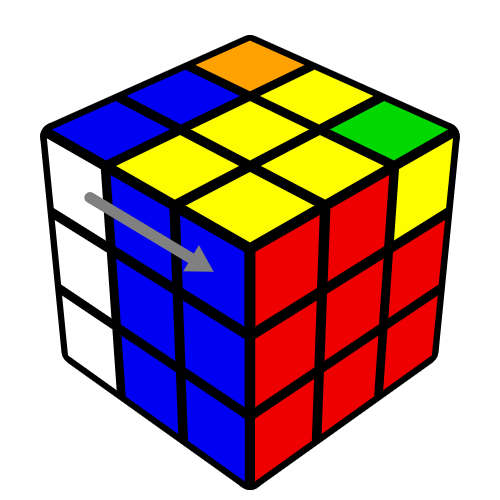
If you've made it this far, you should have a solved first layer. For this part, we will be using 2 algoritms and will use each depending on where the edge piece is. First find an edge that belongs in the middle layer on the top layer. Turn the top face until the side sticker of the edge matches the center.
If the color on the top of the edge matches the center color on the right of the edge then do the following algorithm: U R U' R' U' y L' U L
U
R
U'
R'
U'
y
L'
U
L
Otherwise, if the color on the top of the edge matches the center color on the left of the edge then do the following algorithm: y U' L' U L y U R U' R'


y
U'
L'
U
L
y
U
R
U'
R'
If the edge is in the middle layer but in the wrong spot or the edge is flipped, you just need to insert an edge from the top layer instead to displace the edge in the middle layer.

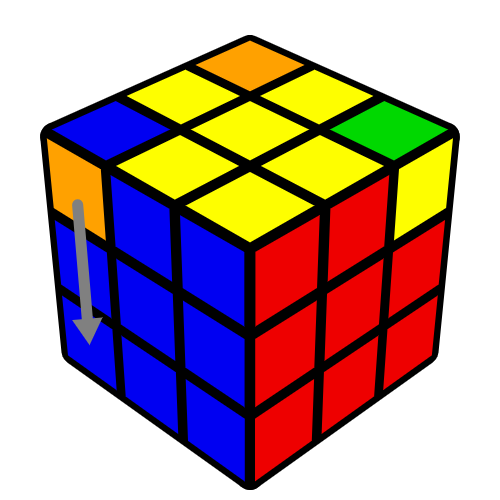
Edge Orientation
Congrats! you have solved 2/3 of your cube. Now the next step is orient all the edges on the top so its all the same color. It doesn't matter yet if the other side of the edge doesn't match the cetner color, like in the white cross. We'll fix this in the next step.
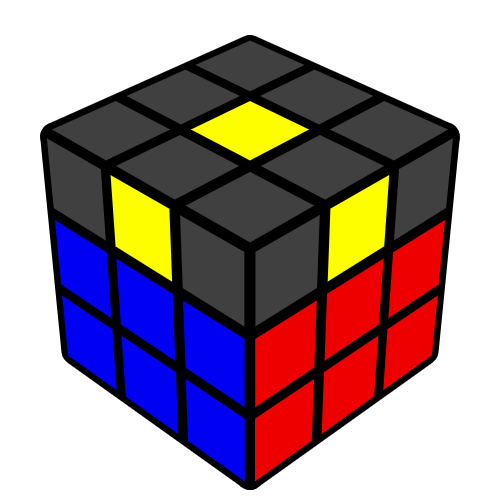
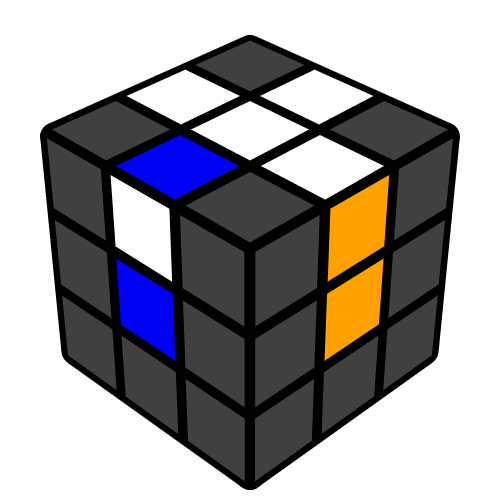
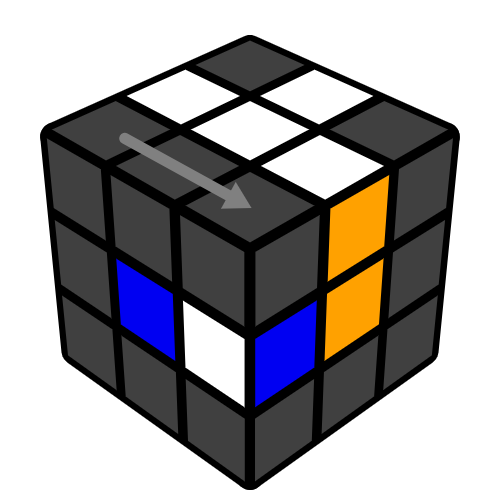
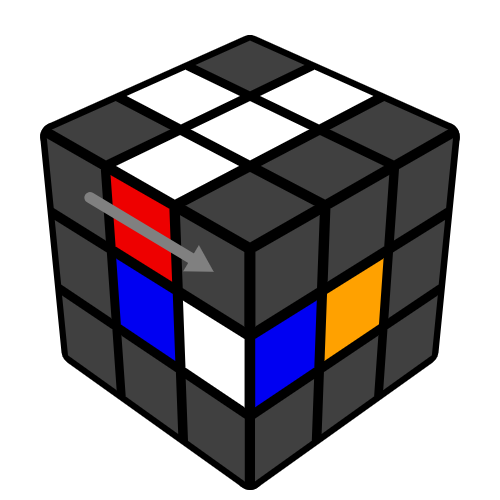
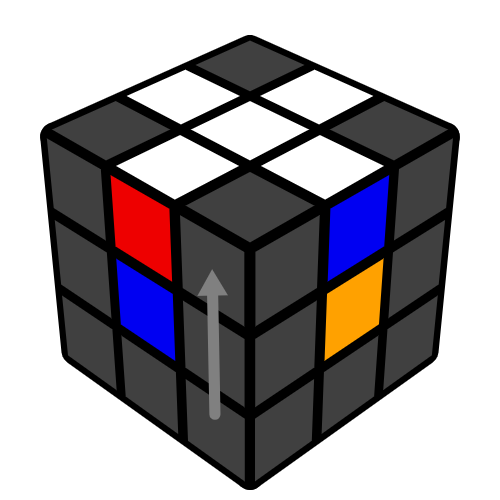
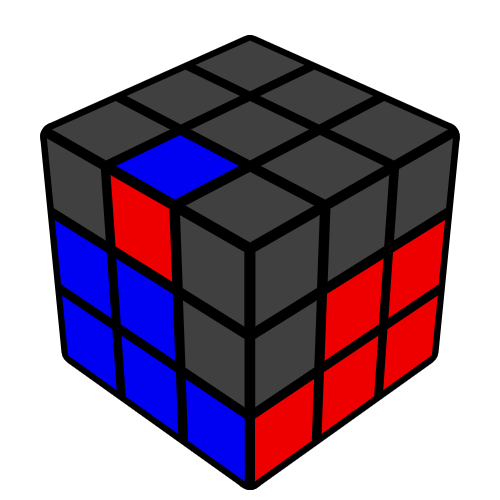
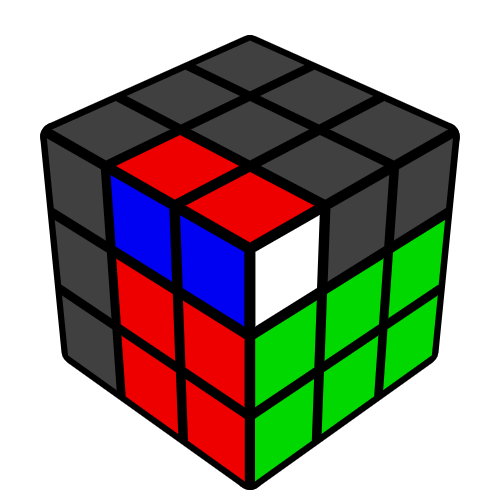
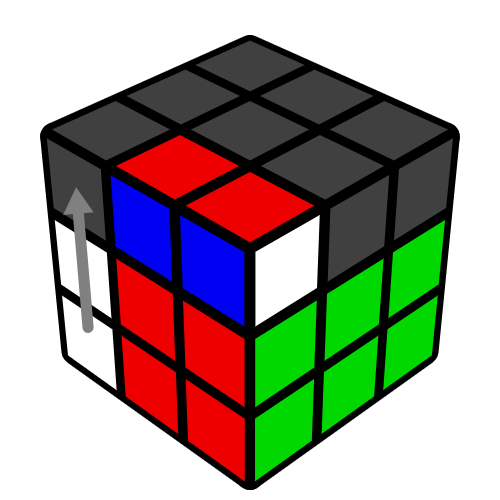
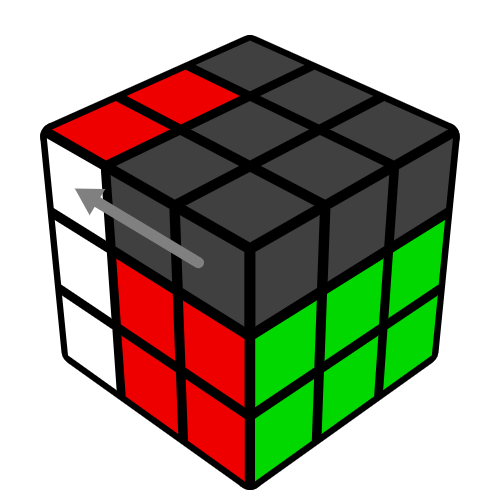
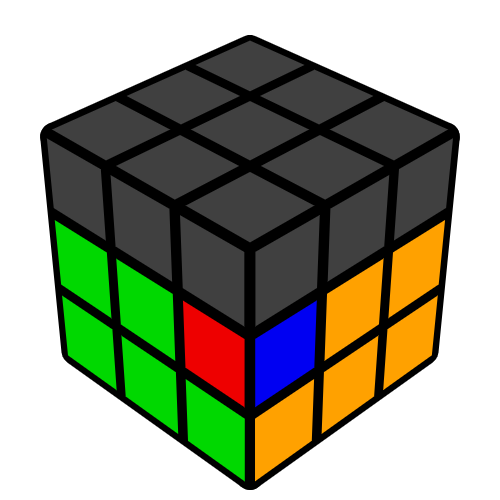
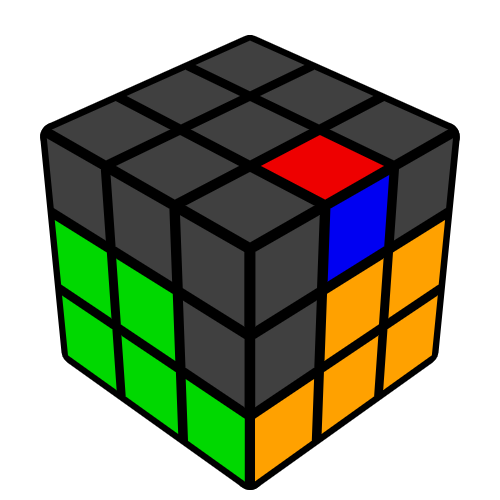
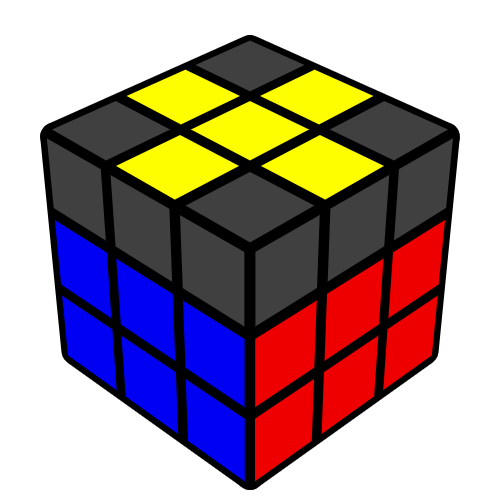
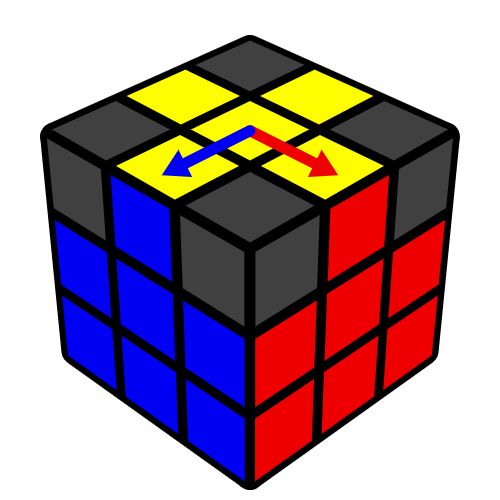
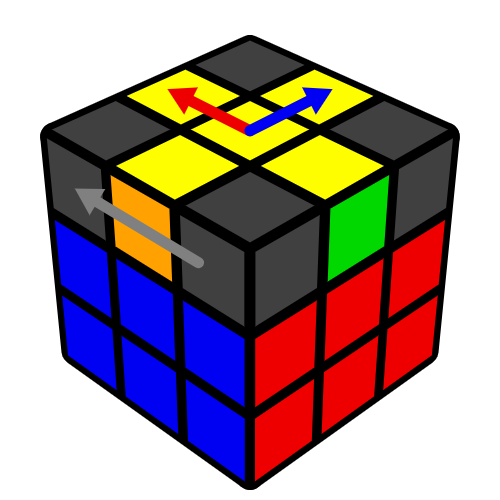
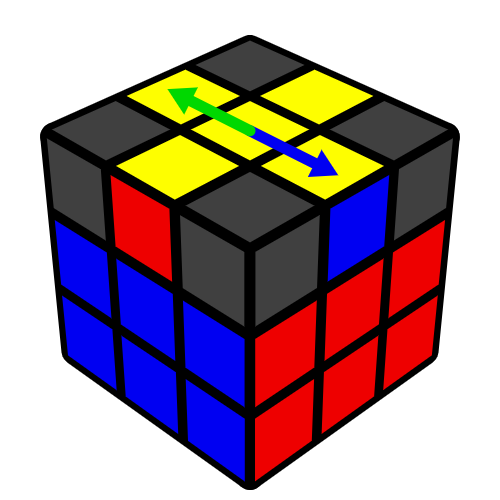
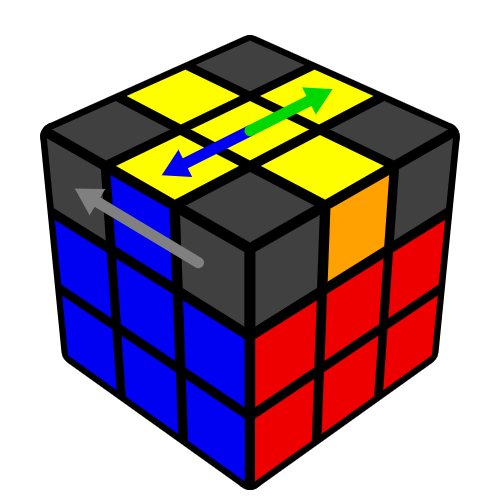
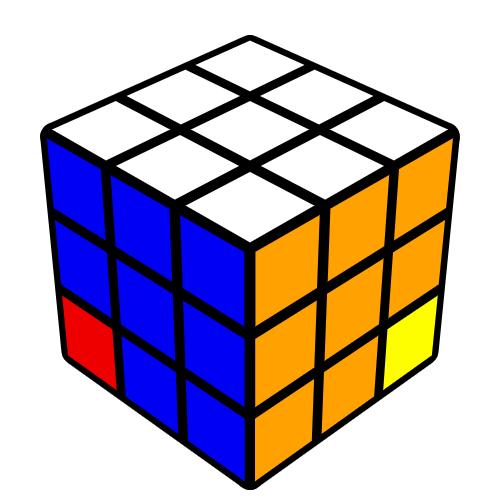
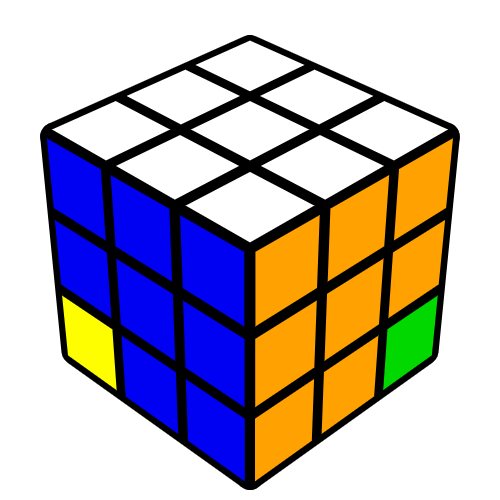
First turn the top layer so the color pattern matches one of the 4 pictures below. Make sure you also have the correct orientation of the top layer or the algorithm wont work.
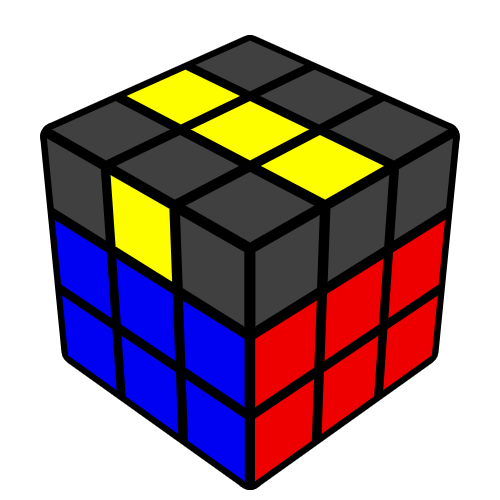
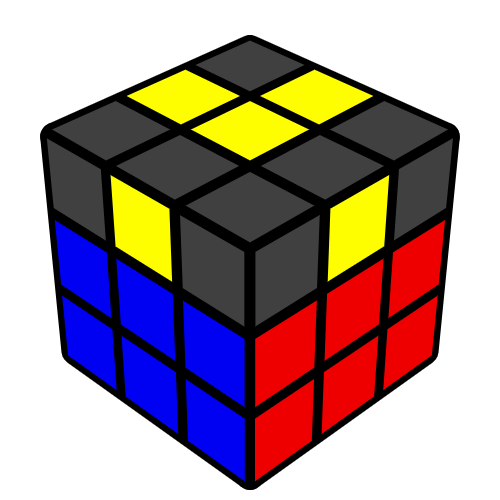 If all 4 of your edges are correct then you can skip this and move on the next step. Otherwise do the following algorithm:F R U R' U' F'

 After doing the algorithm, repeat all the steps above until you get all 4 cross edges to be the same color.
F
R
U
R'
U'
F'
Fixing edges
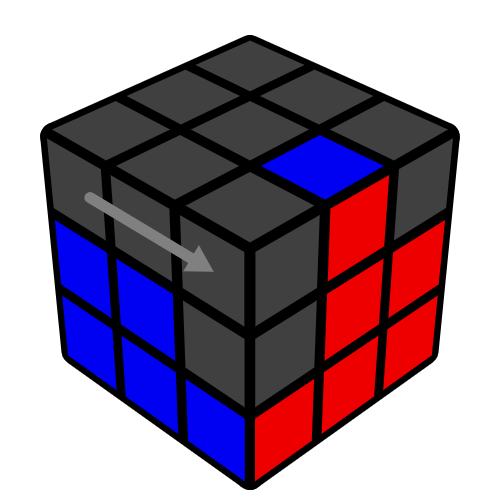
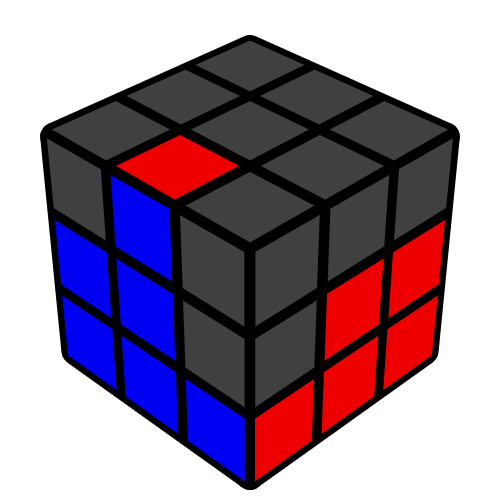
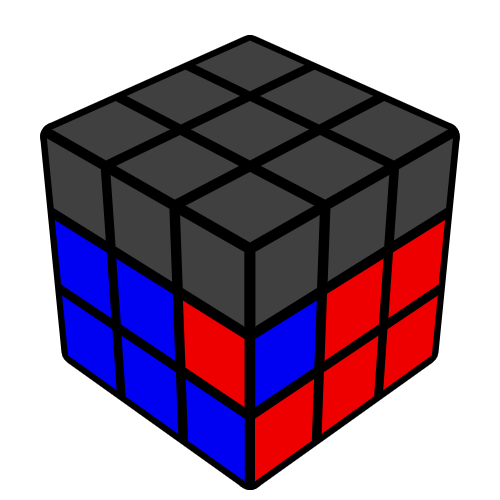
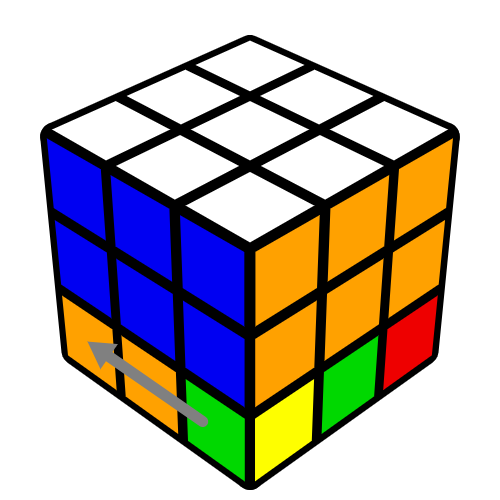
This step solves all the 4 top layer edges so their side color matches their respective center color. First turn the top layer until at least 2 of the side stickers matches the centers they are on.

If all 4 edges are solved then you can move on to the next step. Otherwise if the 2 edges that are solves are adjacent, move it to the back left corner and if the 2 edges are opposite from each other, turn the top layer so they are vertical.
After orienting the top correctly now we can do the algorithm which goes as follows: R U2 R' U' R U' R' U

 If all 4 edges are still not fixed, orient the top and do the algorithm again.
R
U2
R'
U'
R
U'
R'
U

Fixing corners
This step will put all the corners on the top on their correct places, but mot necessarily facing the right way. Again, we will fix the corner direction in the next step. Start by finding a correct corner piece relative to the edges. For example:
After finding your corner peice (if you dont have a corner piece that is in its correct place then use any corner), rotate the top face so the corner piece is on the bottom left. Then do the following algorithm: U R U' L' U R' U' L
 If the corners are still not in the correct place, do the steps outlined above again.
U
R
U'
L'
U
R'
U'
L
Solving the Cube

You are on the final step on solving your Rubik's cube. This last step is to twist all the corners by using the sexy moves. First step is to rotate the cube upside down so the corners are on the bottom layer.
Secondly, turn the bottom layer until there is a twisted piece on the bottom right corner. Then do the sexy moves until the corner piece is twisted correctly. (It is normal for your cube to not look solved, just make sure to do the moves properly). Then repeat this for every twisted corner.


D'
RUR'U'
RUR'U' x 2
D'
RUR'U'
RUR'U' x 2
D'
RUR'U'
RUR'U' x 2
D'
Congratulations! If you have done everything correctly, you now have solved your Rubik's cube. Its normal to for your first solves to take 5-10 minutes, but its ok if you took longer. The best way a beginner can improve their time is just a lot of practice. If your solves are fast enough and reach around 1-2 minutes then you are ready to learn a more advanced but faster method called CFOP
. Most top solvers use this method and can average 5 seconds. But dont expect to get this fast, the top solvers spend years dedicating their lives to the art of solving the cube. Just learn in your own pace, and have fun cubing!